Kleinebrucke, 11th June 1780
The French decided to follow-up their failed initial thrust across the bridge at Kleinebrucke. The scenario was again taken from "One Hour Wargames" by Neil Thomas as these suit my armies and table size rather nicely for games that are not too taxing for solo play.
This was based on scenario 19 'A blow from the rear' and saw the French army divided in two, with three units attacking across the river using the bridge and a ford, while their other three units would arrive behind the Hessian flank having discovered another crossing off-table. The Hessians have four units facing the French at the bridge with two others encamped on a nearby hill. Some units carry stamina losses carried over from the previous battle.
The French start off-table and have the following units:
Attacking Kleinebrucke, enters on turn 1; accompanied by the Duc de L'Orange (quality 3):
- 1st Battalion, Regiment Baguette (20 figures, quality 3)
- 2nd Battalion, Regiment Baguette (20 figures, quality 3)
- 1st Battalion, Chasseurs d'Alsace (12 figures, quality 4)
Flanking force, enters on turn 6:
- Grenadier and Chasseur companies, Regiment Baguette (16 figures, quality 4)
- Grenadier and Chasseur companies, Regiment Royal Tourpoint (16 figures, quality 4, stamina -1)
- 1st Squadron, Hussar Regiment d'Etrangers (9 figures, quality 3)
The Tattemberg defenders, again under Fritz von Wegbringen (quality 3) field the following:
Deployed in the vicinity of Kleinbrucke:
- Fusilier Regiment von Kodenchypz (20 figures, quality 3)
- Fusilier Regiment von Schlangewurst (20 figures, quality 3, stamina -1)
- Bratensosse Jager (12 figures, quality 4)
- 1st section, Artillery battalion von Boomingen (Light gun, quality 3)
Encamped to the rear (unable to act until turn 7)
- Grenadier Regiment Fleischkuchen (20 figures, quality 3)
- Chasseur battalion von Hahnchinabun (12 figures, quality 4)
Tattemberg deployment:
French arrivals on turn 1. Light troops advance through the woods and the line battalions enter along the road with 1er battalion heading for the bridge and 2me battalion marching towards the ford:
The French moved aggressively to draw in the defenders and pin them in place before the arrival of the flanking troops. Willing to take losses they engaged in close range firefights with their opponents:
With the defenders fully engaged the French flanking force then arrives behind their left. The Tattemberg fusiliers must cautiously disengage to avoid being caught in the rear. They are fortunate that their dice rolls are good while the French reactions are sluggish:
The French hussars charge the light artillery and the crew run into the woods to join the jager unit:
The grenadiers and chasseurs of the Royal Tourpont then turn to their tight to act as a blocking force and delay the arrival of Tattemberg reinforcements:
They are successful in their delaying action but are eventually overwhelmed.
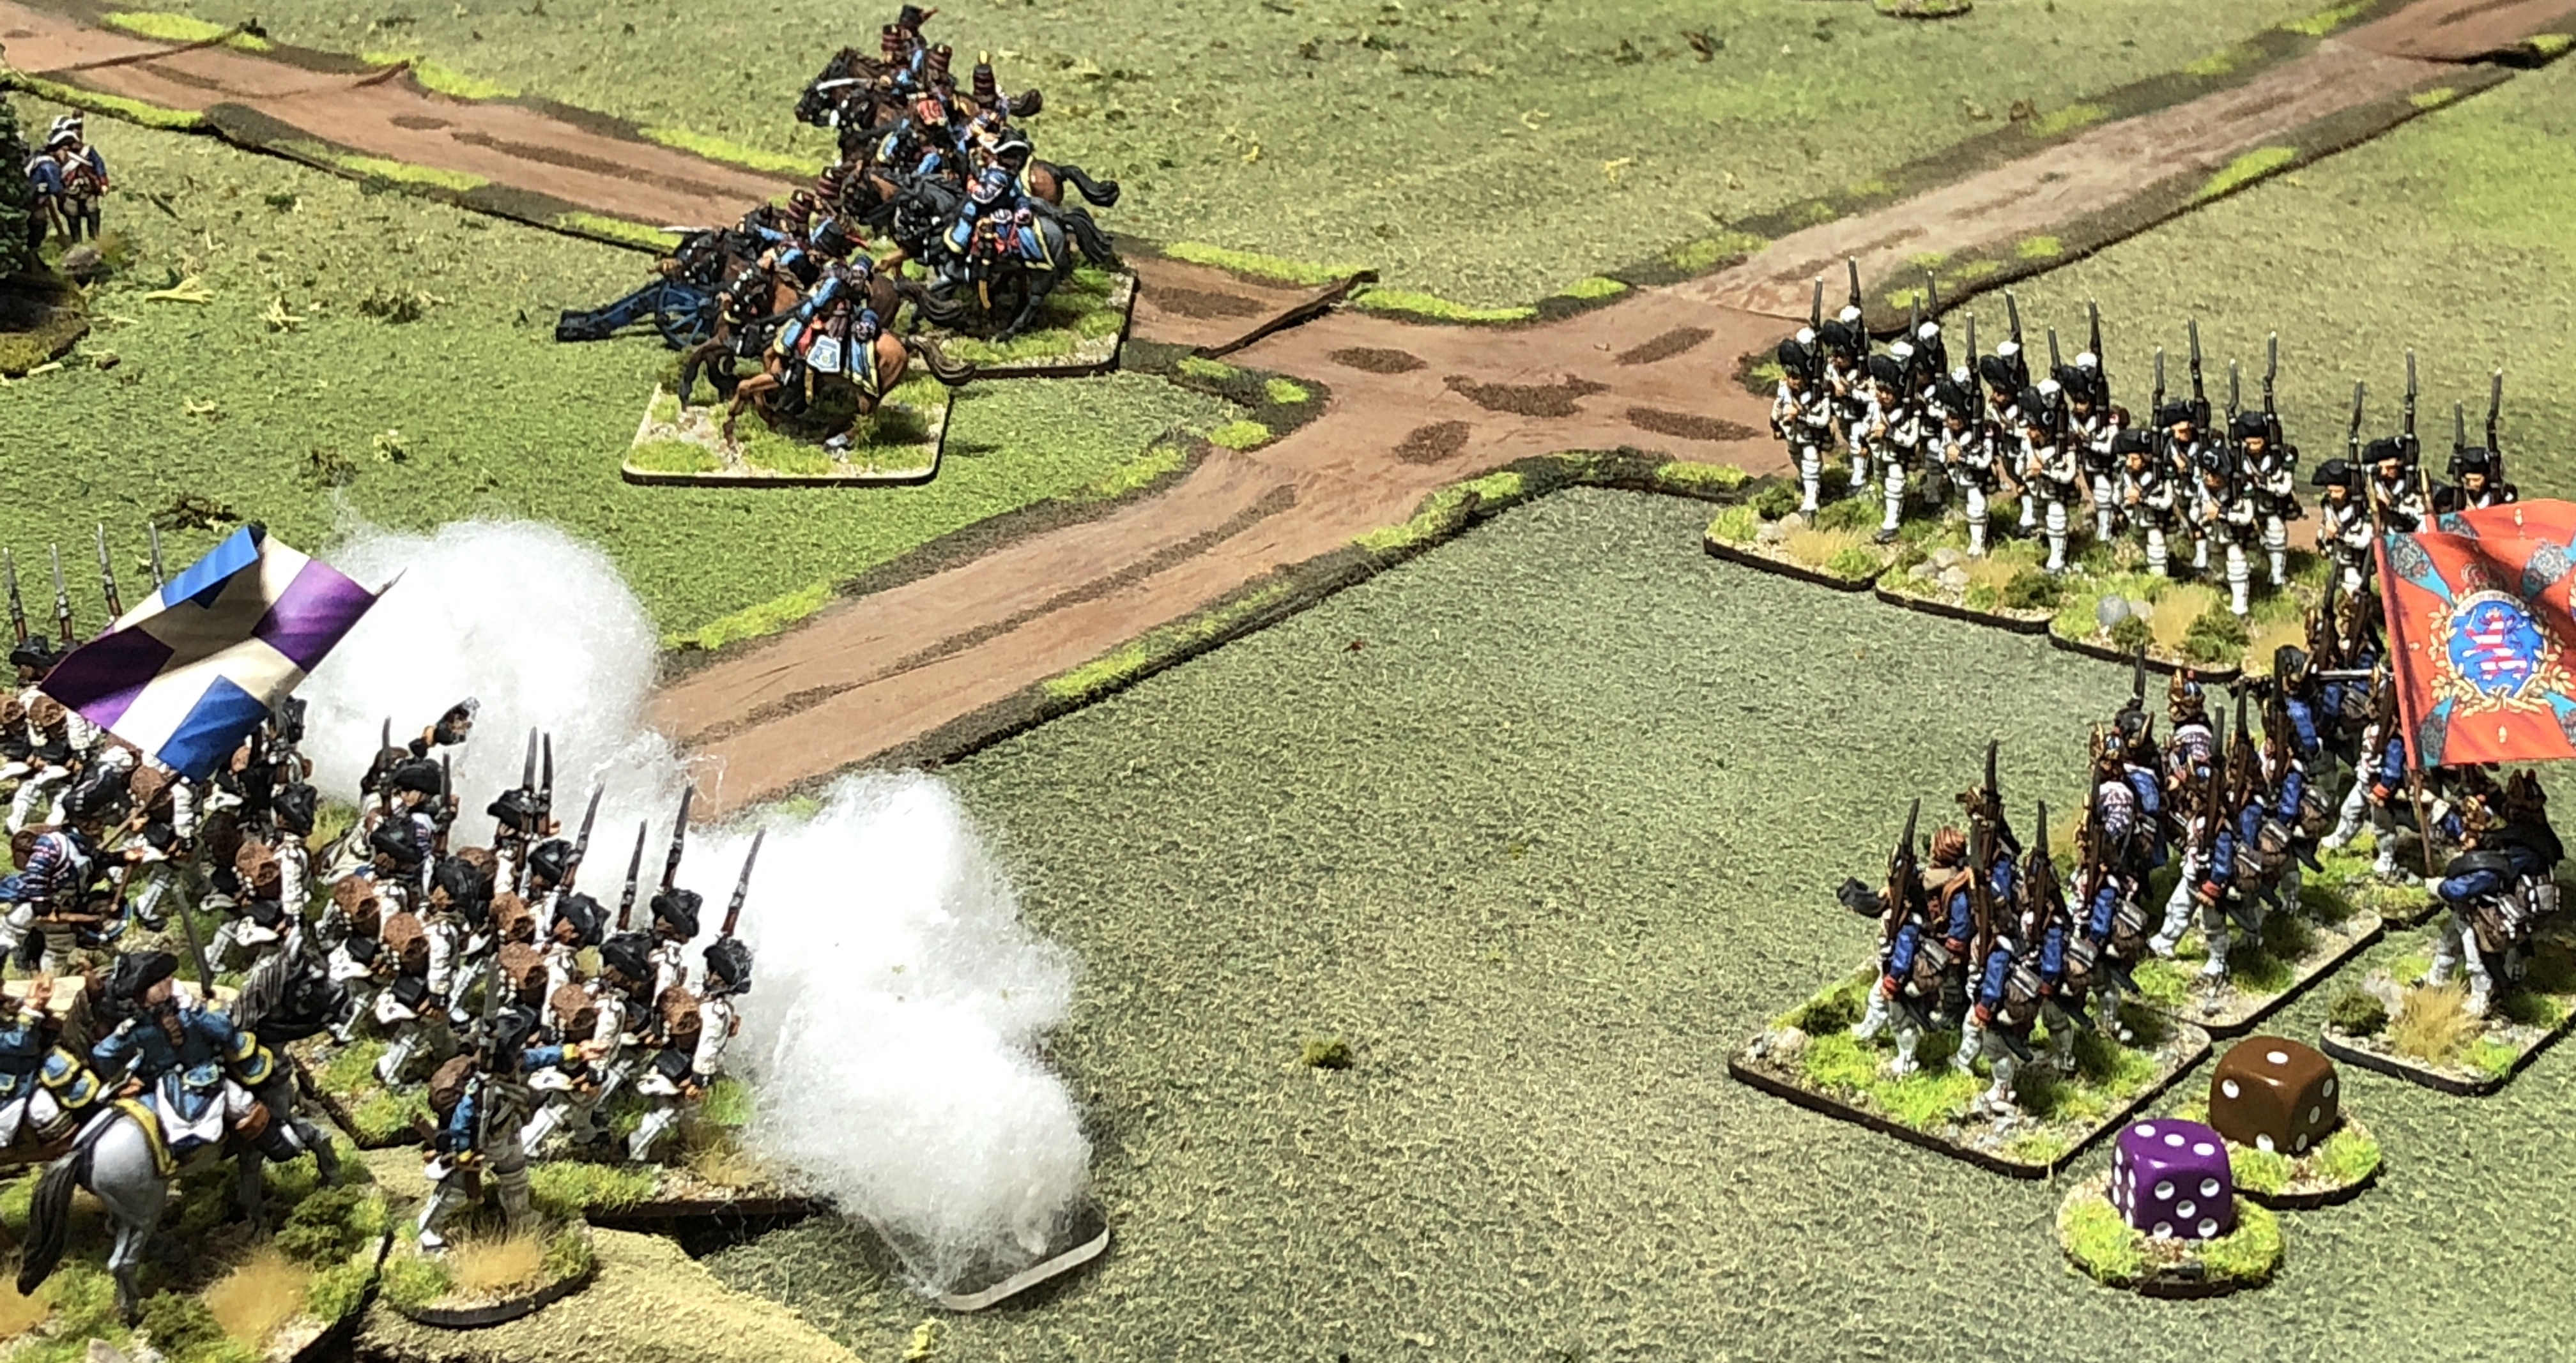
Elsewhere the French and Tattemberg infantry remain locked in a musketry duel, with smoke reducing both sides' effectiveness and morale just about holding until the Hessian fusilers by the bridge eventually break and the French advance resumes momentum just as the Tattemberg grenadiers and their small chasseur battalion arrive:
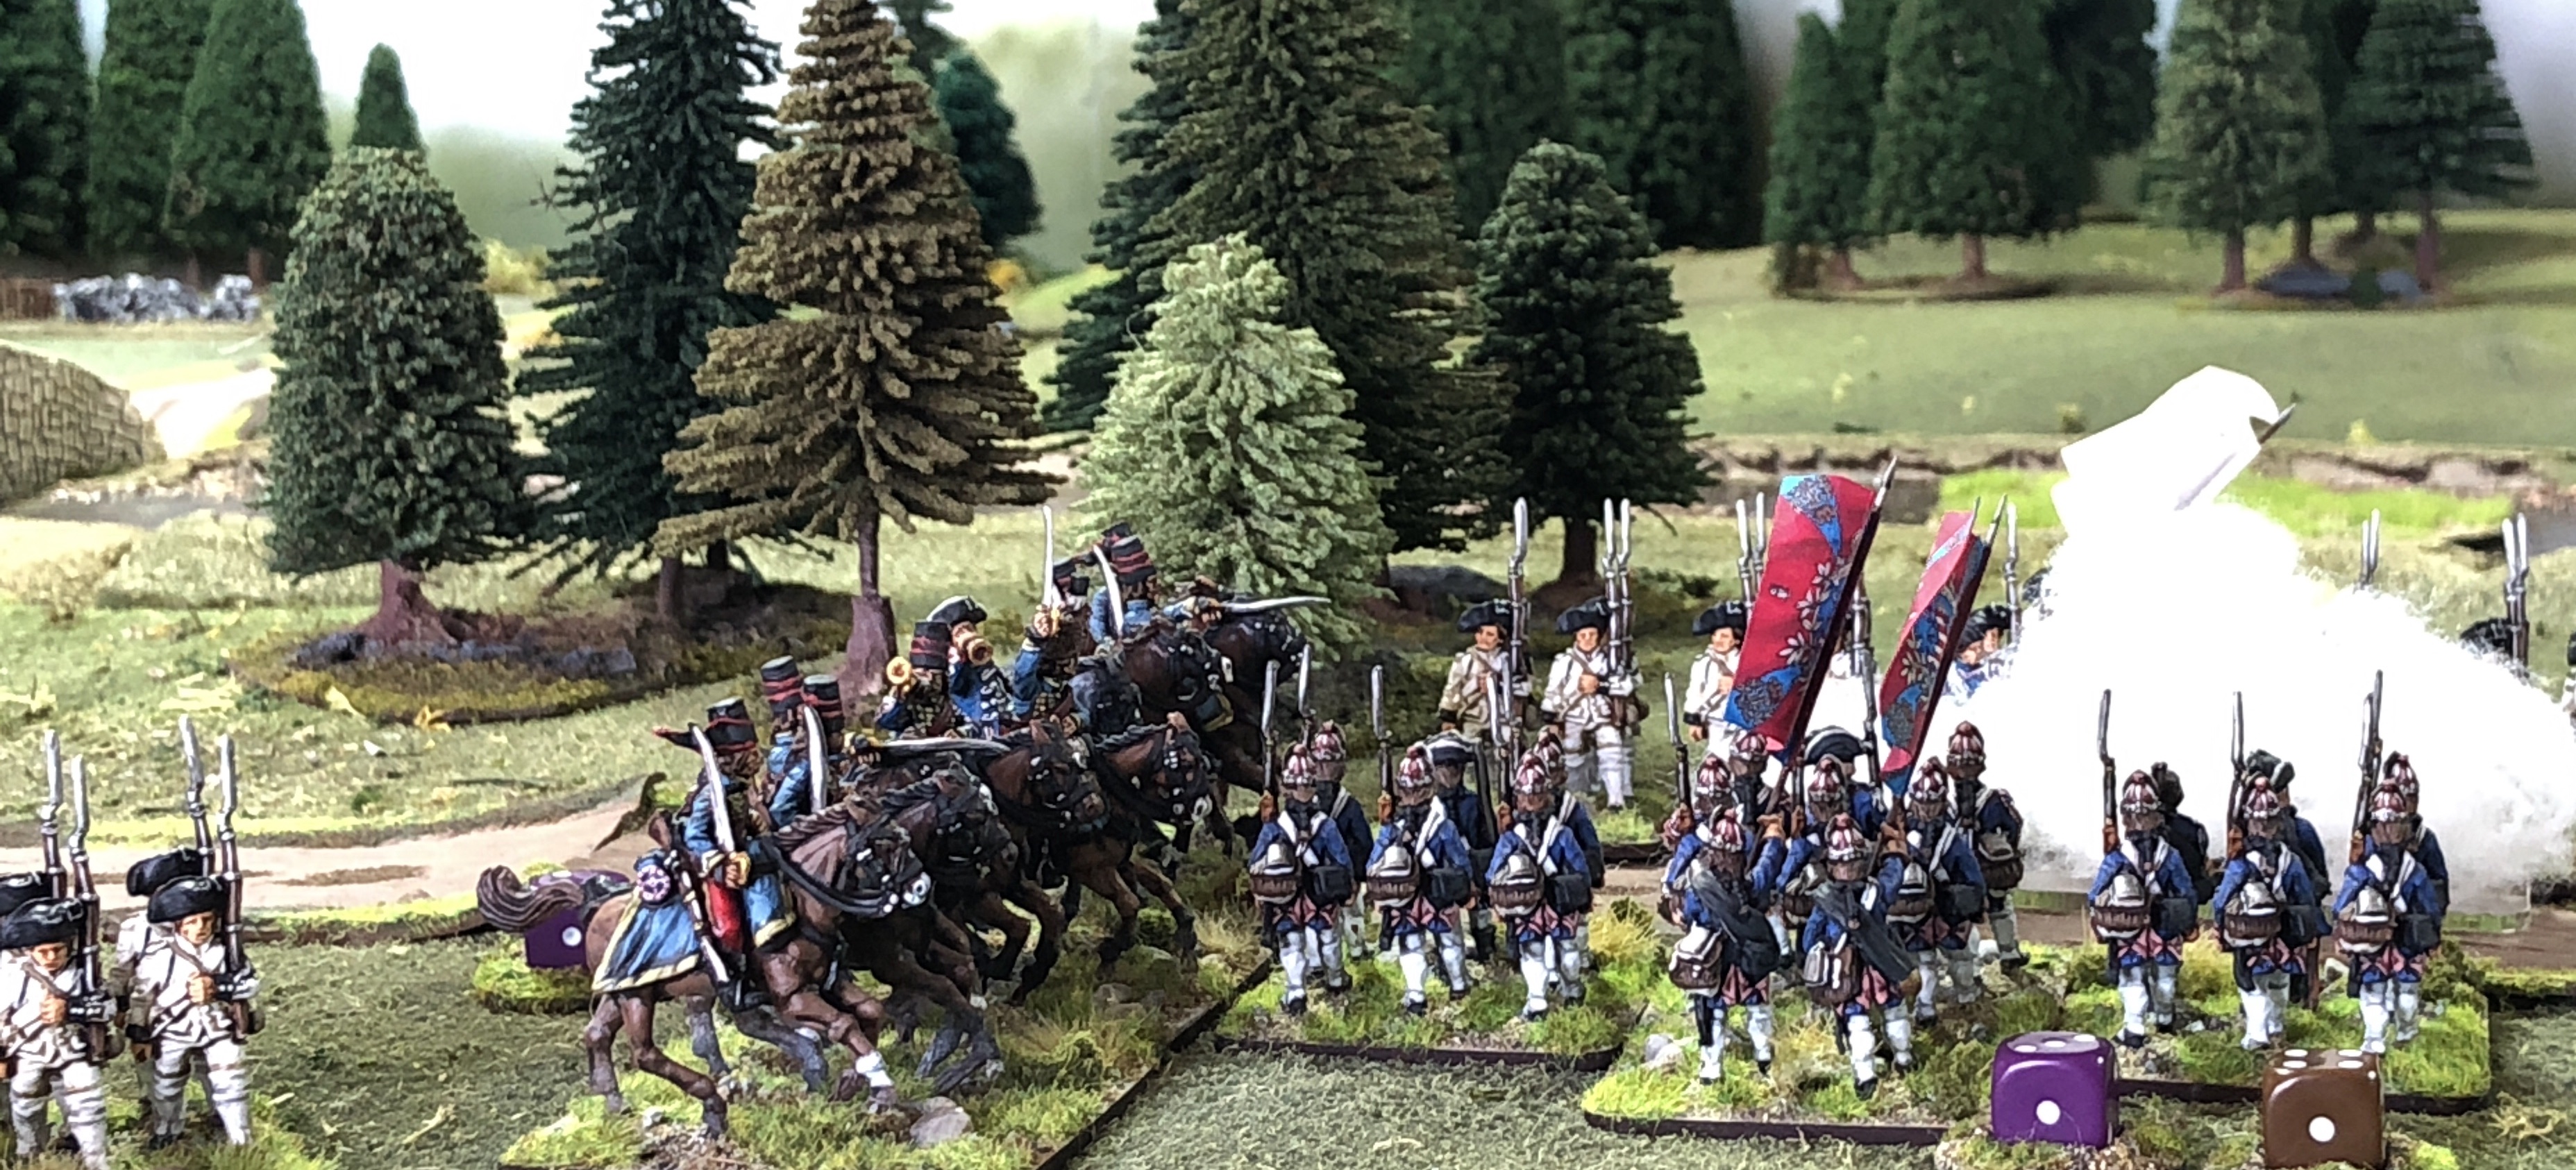
The decisive move comes on the defenders' right where their remaining fusiliers fall back from the 2me French battalion and are charged in their flank by the hussars and destroyed.
By this stage the Tattembergers has lost both fusilier regiments, while the French had lost one of their provisional battalions of grenadiers and chasseurs. With three of the remaining defending units being light infantry and artillery the threat of the hussars was significant, giving von Wegbringen no option but to withdraw to the forested hills to his rear.
The French are now decisively across the river and have a bridgehead inside Tattemberg.
What will happen next?


Superb looking game
ReplyDeleteBeautifully presented game 👍
ReplyDelete