Today was our chance to actually play a game!
Even Lau's automotive woes couldn't stop us thanks to Tricks kindly going far out of his way to provide transport. Duly assembled I gave the chaps a briefing over a beverage and we quickly replayed the reconnaissance action so they could get to grips with the Fireball Forward rules before a quick lunch and a planning/deployment session. I took the Germans and Lau & Tricks split the US forces between them.

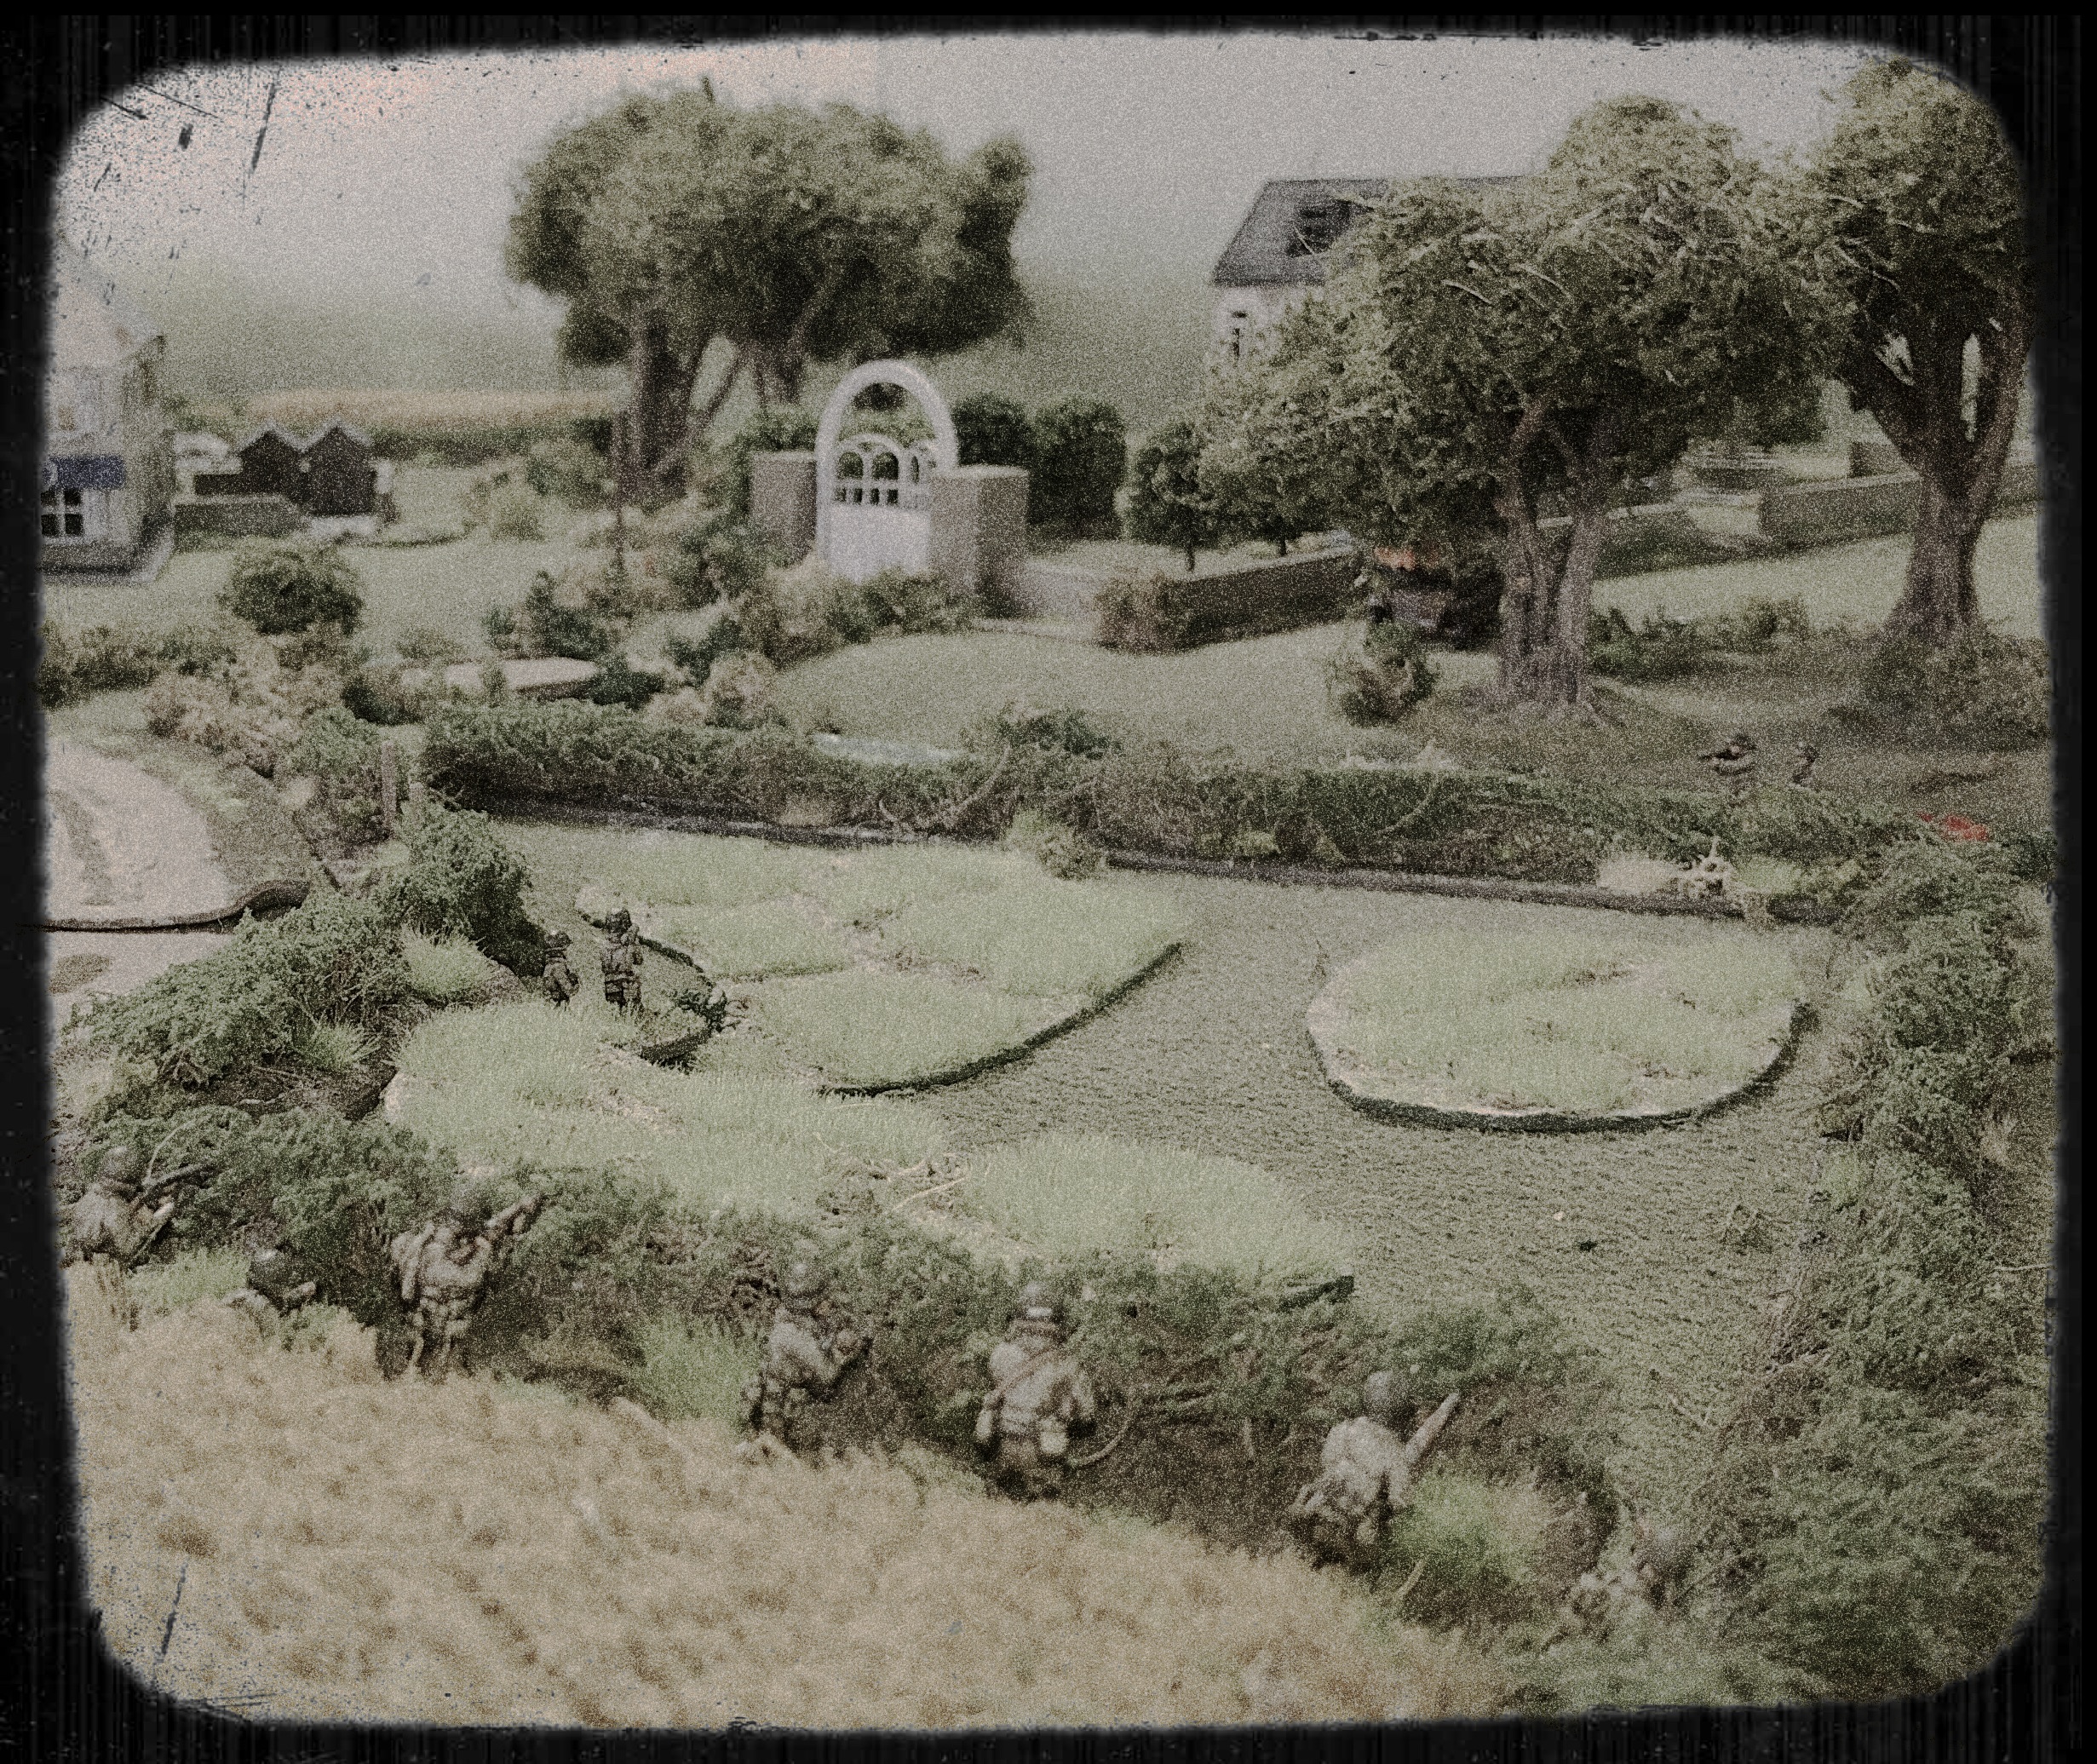
Above, reconnaisance forces close on Caumont
Although some deployments were initially hidden, the following diagram gives a good idea of where each side placed its forces (darker shapes indicate later reinforcements for each side):

The US platoon HQ included both MG teams and the 60mm mortar. The bazooka teams had been attached to 1st and 2nd platoons.
The German platoons were under-strength, with each containing just two rifle squads (not upgraded to "heavy" panzergrenadiers).
The US attack followed their deployment.
3rd Platoon and three Shermans cautiously pushed forward on their left, capturing the garage and orchard despite a brief scare from a 50mm Pak 38 in the orchard. The German infantry did well to hang on to their positions for a relatively long time as they were also taking MG and mortar fire. At the end of the battle they still occupied Cafe Rene, no doubt assisted by the bullet-stopping properties of wet celery and precious artworks.
On the right, 1st and 2nd platoons had a much harder time of things. Initially surprised by a German recon MG team hidden in a gully and supported by fire from its SdKfz 250/1 transport, they then suffered from crossfire from MG teams in the Chateau and the Boulangerie. Taking significant casualties they failed to push on to their objective. One brave bazooka team did manage to crawl close enough to the 250/1 to destroy it before routing back to the nearby gully.
Both sides received reinforcements in the form of armour. The fresh platoon of Shermans immediately lost their lead tank from a long-range shot from a Pak 40 AT gun, only for the following tank to immediately take out the same gun with a well-placed HE round. The German Puma and pair of Panzer IVs struggled to get into a useful position as their entry point was already covered by the guns of the first Sherman platoon.
With time drawing on we called the game at that point. The Germans had blunted the US attack, but with the certainty that more of the same would shortly follow and with Shermans crawling all over town, now would be the time to pull-back to a fresh position under the cover of the Panzer IVs.
The game flowed really well and confirmed my initial favourable impressions of Fireball Forward. Things will no doubt run even more smoothly with greater familiarity with the mechanism and vehicle stats. This is definitely a set of rules I'll continue to use for my WW2 gaming.
Here's some game-related eye-candy:

"Whadda ya mean its not in bazooka range yet!"


Anyone home?

Wagons roll


View from the chateau attic

US company HQ


Panzer, schmanzer...


3rd platoon goes scrumping

Mind the shed!


Just like the newsreels...


US keep their heads down on the right flank due to German machine gun in the boulangerie and the chateau.
And finally...just to prove that Lau, Tricks and I can occasionally all be seen in the same place:

Great table, figures and vehicles very neatly done. The game does seem to have gone well, since all the players got frustrated at some point. Looking forward to next AAR.
ReplyDeleteGreat game Steve, thanks! And thank to Tricks for unexpectedly needed taxi duties!
ReplyDeleteAlways god to find a set of rules that remind you of the battlefield realities. Crossing open ground in the arcs of fire of two heavy machine guns really doesn't end well. Great game all round. Thanks Steve.
ReplyDeleteNow that's a game!
ReplyDeleteNeil